Easy and super cute, these little monsters will help you find your place every time!
Some examples from another website of some pretty cool monsters! See the step by step instruction of these bookmarks
here.
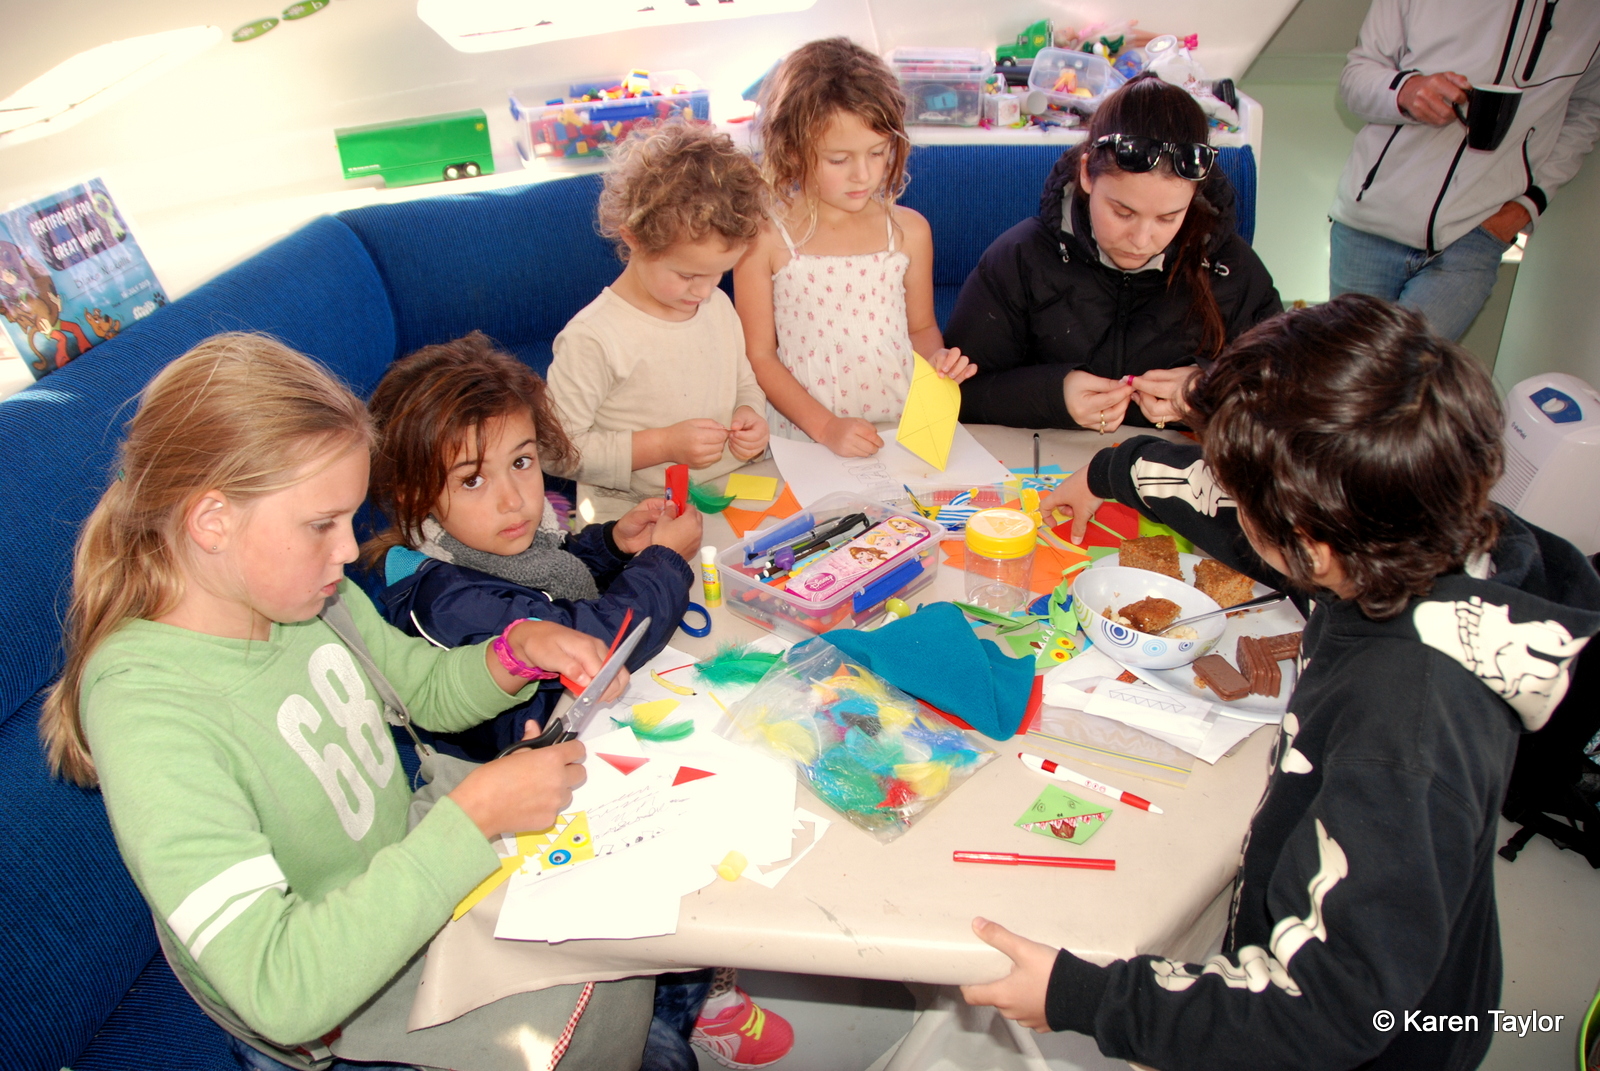
Unfortunately for the actual workshop we were resting after our ordeal with Blake and croop. So the lovely ladies saved us some supplies to make our own Crazy Bookmarks. It so happened that some family visited with some friends so we all sat down and made some of these amazing bookmarks together! They are super easy, and you can make them look really scary, or very pretty! It's totally up to you, so enjoy being creative!!
You will need:
- Coloured paper
- pens and pencils
- glue
- stick on crazy eyes
- any additional craft accessories you may want to use ie. feathers, glitter, jewels etc
Cut out your template for the bookmark by tracing one like this one
here.
Fold the 'wings' on the sides to make the 'face' of the character. Glue the wings together but make sure you don't glue it to the back piece as this is the bit that will fit over the corner of the pages in your book.
Decorate using your items, then let dry.
We actually took this one step further and applied ice block sticks to the back to make puppets!
The possibilities are endless!!


